by David Norelid | Jun 3, 2011 | Tech Note |
Just a quick post on another tip that I figured out while solving a client’s problem.
If you have AutoCAD 2012 configured for standalone licensing, but then later set up a license server, you don’t need to uninstall AutoCAD to then reinstall it with network licensing.
All you need to do is change one registry key and you’re set. In recent versions (maybe 2010 and up), AutoDesk has changed the registry values, so similar guides for AutoCAD 2009 and older are now outdated.
Run regedit and find the following key
HKLM\SOFTWARE\Autodesk\AutoCADR18.x\ACAD-x:x\AdLM

"Type"=dword:00000019
The X values change from version to version
Change the value of key called “Type” from 2 to 1. It doesn’t matter if you have decimal or hex selected, as in this range, 1 in hex is the same as 1 in decimal. This key tells AutoCAD which licensing type to use.
1 = network
2 = standalone
Close out of regedit and run AutoCAD 2012. It will ask you where your license server is, so just enter the hostname of your license server and you should be good to go. It asked me twice for the license server, so it could ask you twice as well. I didn’t have to specify the license server on subsequent program launches.
This also works in reverse. If you’ve left the office but forgot to check out a license to your laptop copy, you can set it to standalone (change from 1 to 2) and it will run for 30 days in the trial mode.
Couldn’t be easier, right?
by David Norelid | Jun 2, 2011 | Tech Note |
UPDATE: If you can boot into Windows, then try this updated Windows-only method
I had a customer drop off a laptop with a BIOS password locking the customer out of the BIOS settings. The laptop was an eMachines E527-2537 running Windows 7 x64. Normally, you can reset a BIOS password by removing the CMOS battery, but laptops typically don’t have CMOS batteries to remove, leaving you with having to either send the laptop in for service from the manufacturer, or trying to hack the BIOS password another way.
In the past, with AMI/Award/Phoenix BIOSes, there have been tools available to decrypt, reset, or otherwise mangle the BIOS settings into removing the password. Unfortunately, none of those tools work on EFI firmwares, which are the next generation of BIOS. Naturally, this laptop just has to have an Insyde H2O EFI firmware, making the old tools obsolete.
To add to the problem, this laptop was unable to boot from a CD because the boot option were hidden in, you guessed it, the password protected BIOS. So. Here’s what I did to get the laptop to boot from a USB stick and reset the bios password.
NOTE: This guide is written for tech savvy people who know what they are doing. If you are uncomfortable with the command line, flashing BIOSes or getting your hands dirty, don’t attempt this process yourself. I cannot and will not hold your hand while you do this. I wrote this guide because I didn’t see anything like it online and I wanted to leave it here as a quick guide for other techs. I can’t offer support for this procedure. If you need
computer repair in Houston, then please call me and I would be glad to do this for you.
This guide will take you through a few steps. We will install a boot loader to get around our inability to select a boot device thanks to the BIOS password. If you can already boot from USB for whatever reason, then skip to step 4 and then to 6. We will then prepare a bootable USB stick and our BIOS flashing batch file. Finally, we’ll boot from the USB stick and flash our BIOS.
1) Install PLoP Boot Loader to boot from a USB stick
Since I was still able to boot into Windows 7, I used EasyBCD to install PLoP in the Windows Boot Manager. PLoP is a boot loader which will allow us to boot from other media like CD/DVD, network and USB sticks. If you are on XP or earlier, you can install PLoP via a different method. Google it.
Install EasyBCD and install PLoP as the BIOS Extender, as shown in this image.

2) Prepare a bootable USB stick
There are many guides on how to create a USB stick that is bootable into DOS. Here is one that you might like.
3) Place the BIOS files on the USB stick
Go to your computer manufacturer’s website and download the latest version of the BIOS for your computer. It will likely come in two versions, one to flash from Windows and another to flash from DOS. We want the one to flash from DOS. There will be a few files in the archive, one called flashit.exe (the BIOS flashing program), another with a name like pawf5106.fd (your file might be named differently, this is the filename for the laptop I was working on), and a batch file with some parameters set for flashing.
Create a folder on your USB stick and place these files in it. The name doesn’t really matter.
4) Edit the batch file to reset the bios password
This is the important bit. If you look at the batch file included with the DOS flashing kit, it might look like this
flashit PAWF5106.fd /fe /b /dc
add the flags /C and /FP to the end of the line, so it looks like this
flashit PAWF5106.fd /fe /b /dc /C /FP
the C flag will clear the CMOS memory and the FP flag will flash your bios without a password. Without that flag, any bios update will retain the old password. The bios file (PAWF5106.fd) will likely be different for you.
5) Use PLoP to boot from your USB stick
Plug your USB stick in and turn the computer on. On the Windows Boot Manager screen, select the BIOS Extender and then select USB from the boot options.
6) Flash the new password-less BIOS
From the DOS prompt, navigate to the folder that contains flashit, the BIOS file, and the batch file. Make sure the computer is plugged into AC power and fully charged. Run your edited batch file and wait for the flashing process to finish. Once it is done, it will reboot automatically.
7) Get into the BIOS to verify that the password has been removed
Hit F2 as the computer boots to get into setup. Look at that! No password prompt! Congratulations! Now you can tun on the F12 Temporary Boot Menu and change the boot order all you want.
I hope this helps you out and saves you some time. Lord knows I wasted plenty of mine. If any parts of this guide are overly vague, leave a comment and I’ll see if I can’t clean it up. I’ve also been up all night working on this laptop, so I might be a little funny.
by David Norelid | Feb 5, 2008 | Tech Note |
When one talks about antivirus definition updates, one usually speaks in terms of Manual and Automatic updates. A manual update is performed by going to the antivirus vendor’s website, downloading the definitions, and then either installing them by running a program or just placing them in your antivirus software’s definition directory. Antivirus software that automatically updates would download new definitions automatically on a set schedule, once a day or once a week, for example. Most antivirus software is pretty straightforward when it comes to Automatic updating. They will almost always come preconfigured for automatic updates, so they are mostly “set and forget” sort of solutions.
This is no way to make money, however. Due to the nature of ever-evolving virus threats, virus definitions are outdated within days of their release, necessitating some sort of a constantly updating definition system. The major antivirus companies have turned antivirus protection from a software to a service. They do this by selling you “subscriptions” or “licenses” to use the software. This means that when your subscription is finished, you will stop getting updates. That is why it is so important to stay on top of your subscriptions and make sure they don’t run out.
As sort of a follow-up to last week’s post, I went around and compiled links to all the antivirus products I could find. From this comprehensive set of links, you should be able to find the updates to the program you run on your computer. Some of the products can only be updated from within the program itself, meaning that you can’t download the definitions manually. I’ve made a note of those that are only updated manually.
If I missed on that you would like me to find the update link for, then please let me know.
Anti Virus Updates
by David Norelid | Feb 2, 2008 | Tech Note |
You don’t know how sad it makes me to see things like this
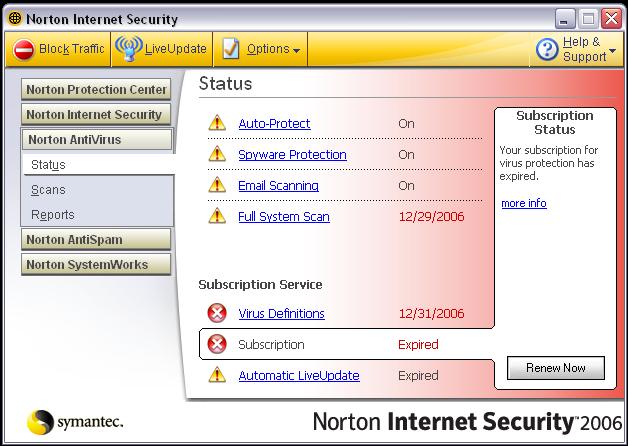
This client’s copy of Norton Internet Security expired over a year ago, meaning that for a whole year it has been running with old virus definitions. Why are virus definitions important? Well, image that a virus definition is like a word definition in that it helps you identify the word/virus and what it does. Now imagine that you’re a foreign student traveling in America with a travel dictionary (our virus definitions) from the year 1654. Those word definitions (virus definitions) are terribly out of date, so there’s no chance that you’re going to be able to pick up new words (new viruses) like rollerblade and crunk. Granted, words like rollerblade and crunk may only hurt our feelings, but an undetected virus can do so much more damage!
Many modern PC makers will bundle trial versions of anti-virus products with a computer that will only last 90 days before expiring. This can be even worse than having no anti-virus at all because you might think that you are protected when you actually aren’t.
Please take a few minutes today to make sure that your anti-virus software is updated and running correctly.
by David Norelid | Feb 1, 2008 | Tech Note |
I recently had a customer drop off a laptop that was having very odd issues on the screen. There were all sorts of artifacts scrolling up and down the screen, with an odd checkerboard pattern that changed randomly based on mouse movements or even touching the computer. Sometimes video corruption like this can be a driver issue that is usually resolved by getting the latest drivers for the video card. In this case, however, the corruption persisted even in the bios menu and a boot cd. This meant the issue was in the hardware and not software. Now, hardware video corruption issues are sometimes memory corruption or loose cables. If the cable that connects the laptop’s LCD to the motherboard becomes loose, but not completely disconnected, you can get random corruption on the screen.
I figured it was a cable problem and while I prepared to take the laptop apart I ran my Citronix Remote client from the laptop to diagnose the issues from my desktop when something odd happened. The video corruption persisted even in the VNC connection! Ever stranger was that the mouse cursor was unaffected by the corruption and that certain windows and pop ups would also come in clear.
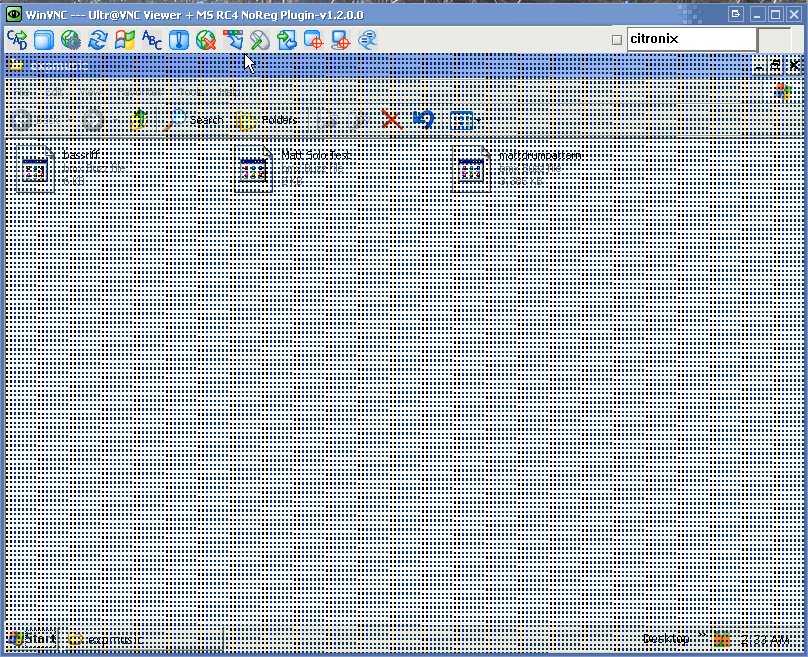
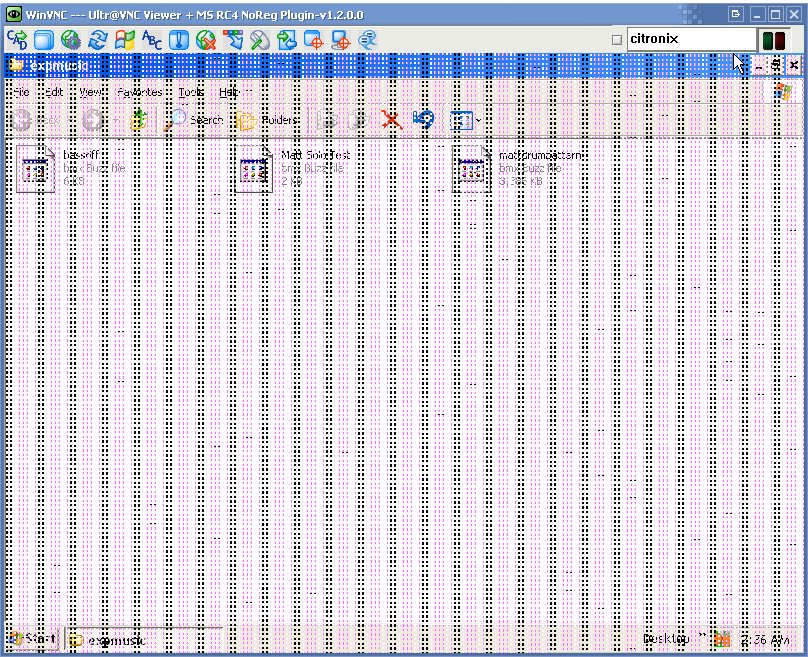
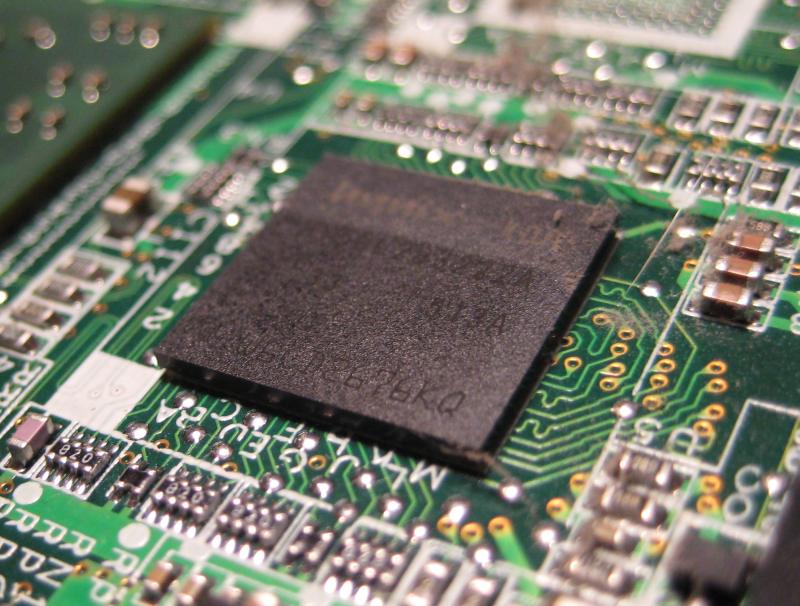
This meant that it wasn’t a cable issue, but the corruption was occurring in the laptop’s video memory itself. Since the corruption was in memory, when the VNC server sent the contents of the video memory to my lab station, it also copied the artifacts. I turned it off and replaced the ram, but the corruption was still there. This was bad news for my client, as that meant that the laptop had dedicated video ram that is soldered to the laptop’s motherboard. I looked up the laptop model and sure enough, that model had separate dedicated video ram. This type of memory is not serviceable and required a motherboard replacement to fix the problem.
Update: I opened the laptop up to check for physical damage to the memory chip such as a faulty solder joint or the chip being physically compromised in some way. I found no such external damage, but I got a pretty good macro photo out of it